Adding a Bit of Surface
Preparations
I will assume that you have some basic modeling experience - if not, then please try reading the blender Noob to Pro tutorials, or the tutorials on this site first.
As we don't want our terrain to just end, lets make it an island, so the ending is a little more believable.
Before you start - add a simple cylinder that is 6 units high, and about 2 units in diameter.
This is the approximate size of an uru avatar, and will help you determin the scale of your age.
Add the following logic property to hide it from the export later on:
string type : "hide"
Modeling the surface
Now, it's time to make the island....
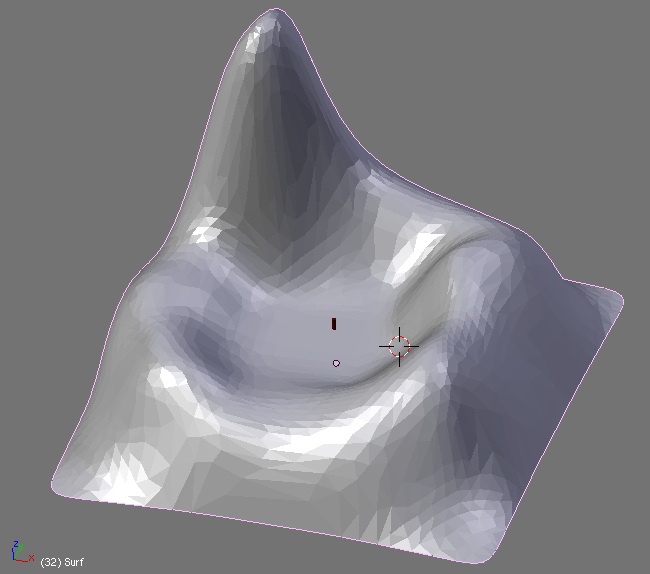
Try to make something like this - a small island with a bit of a mountainous region on it:

(Note that this particular mesh was made in a few minutes by using a NURBS surface to do the outline, converting it to a mesh, and by applying two layers of subsurf and a decimator, you can neatly round off the edges.)
Continue
Now that we have a waking surface, lets make a visit to the age
