Planting Some Grass
Of course, no Age is complete without at least a small patch of vegetation.
In this part we will be discussing two techniques:
- Alpha vertex painting for the patch of grass
- Billboarding bushes and simple plants
Contents
Adding a patch of grass
For the patch of grass, we will be using the following texture:
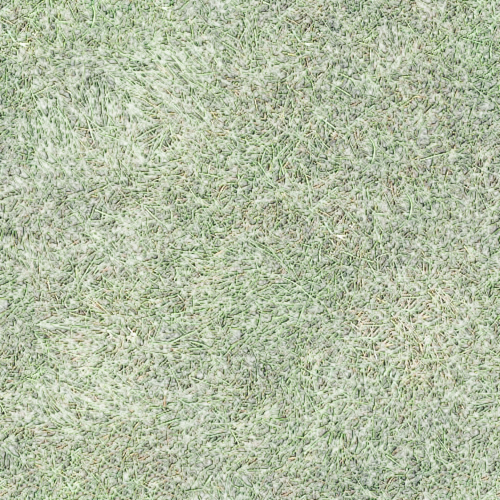
The texture has a bit of alpha to make it blend in with the terrain better....
Making a new plane
Bur first we will need a place to place the grass.
We will copy a piece of the floor mesh to place the grass upon.
Enter edit mode on the island surface, and select the faces you want to copy.
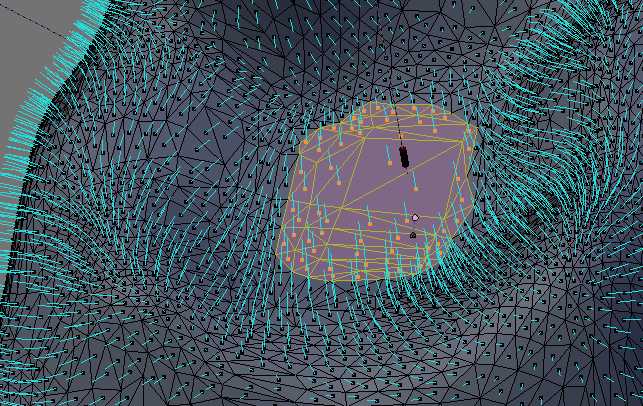
Now, press Shift-[D] to duplicate the faces.
After that press [P] to extract those duplicated faces into a new mesh of its own.
Exit edit mode, and select the new plane.
Don't forget to shift it up (on the z-axis) by about 0.01 feet (0.01 blender units) to ensure it's not obscured by the islands material itself.
Adding a new material
Of course, it needs a new material. Delete both materials currently assigned, in the Mesh Panel. (Don't worry, it will stay on your island)
Since the new plane has the same UV coordinates as the parent object, you don't need to UV Map it again.
Just add a new material, and set the specularity to 0.0
Now add the grass texture to it. You can set SizeX' and SizeY in the Map-Input tab both to 64 for a nice result.
Vertex painting
Now, go to the Mesh panel, and add a new vertex color layer. Name the new vertex color layer Alpha.
Select the new Vertex color layer by pressing the two buttons left of the name, and start painting the edges of the plane black. Be sure to keep the rest white.
Where the faces of this layer are black, the mesh will become transparent in Uru. Where it is white, it will become opaque.
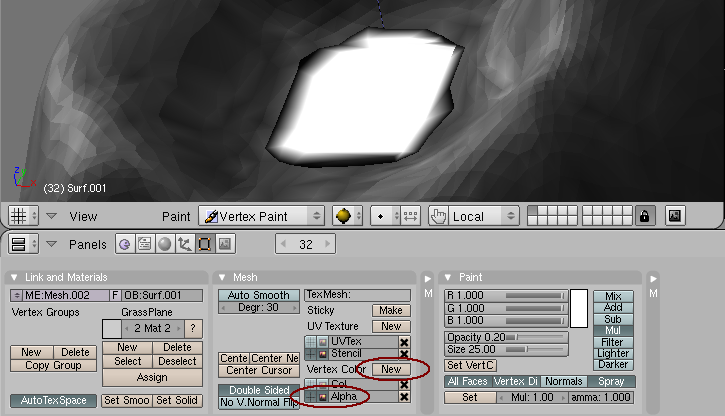
Using this technique, you can make the new grass plane blend very nicely with the terrain below it.. Don't forget to paint the first Vertex layer (Col) all white, to get all of the texture on it.
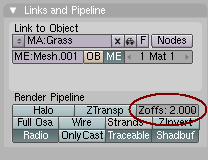
One thing that still needs to be done, is setting the Z-Offset.
The Z-Offset is important to the rendering order.
St it to 2.0 to get a good blend.
Suggestions for improvement
You could also find a flower or weed texture, and use a stencil to get it nicely onto this grass, thus adding another bit of realism.
Adding plants
Now that we have some grass, it is time to add some bushes and plants.
Simple Sprout plant
We will start by adding a simple, but convincing sprout-like plant.
We will use the following texture:
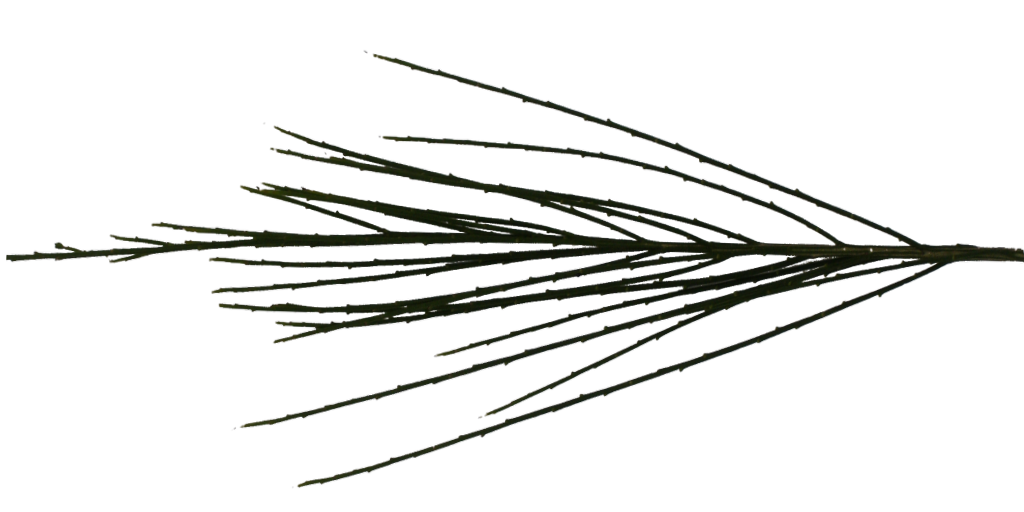
(This image is lying on its side to make the UV mapping in blender easier)
Because this is a very simple plant, we can get away with making it very simple.
Modeling
The plant will be located on the grass we made earlier, so place your 3D cursor in that area, a little higher than the field of grass.
Now create a simple plane and size it so that it's height is about 2 times its weight.
(Create the plane in the [b]top[/b] or [b]side[/b] view, if you don't want to be bothered to rotate it afterwards)
While still in edit mode, go to the [b]top[/b] view, select all (press [b][A][/b]), and duplicate and rotate the plane that is already there. (To do that, press [b][D][/b], and immediately ater that press [b][R][/b] and type in [b]90[/b], folowed by [b][Enter][/b])
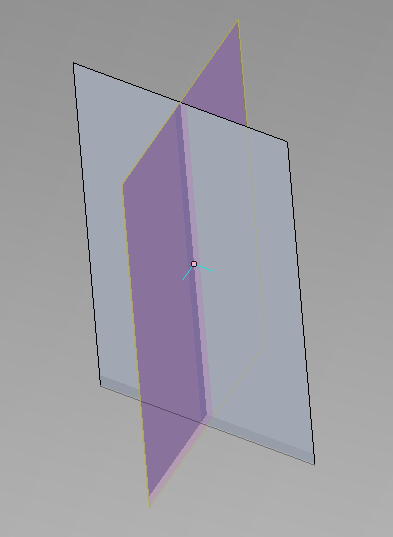
Now, as you will notice, the two planes intersect each other right in the middle.
This is useful to create the illusion of a three-dimensional plant.
Uv Mapping
Now, continue to UV-texture the plant. Got to Texture view, and add the [b]GreenSprit.png[/b] texture to the UVMap window.
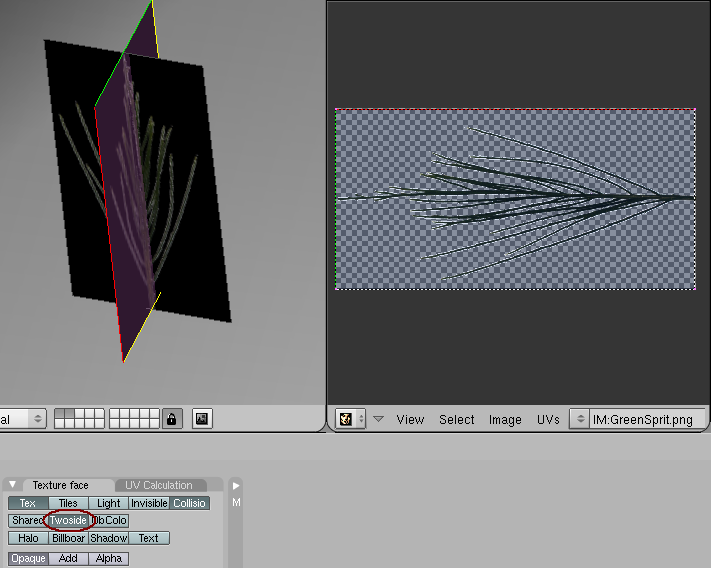
Select at least one face (though it's better to select both), and press the [b]Twoside[/b] button as in the image below. This button is located in the [b]Edit[/b] menu (![]() )
)
Now, if you see the plant texture rotated somehow (in Texture view), do correct the UV Mappings for the wrong plane(s).
Texturing
As a next and final step, add a new material to the object, and add an image texture referring to this texture.
Don't forget to set [b]UseAlpha[/b] on it.
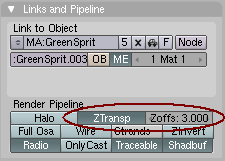
As a final step, we must give it a [b]Z-Offset[/b], since both this object and the plane of grass beneath it have transparency.
We will need to set the plant's Z-Offset higher than that of the Grass plane, so let's set it to [b]3[/b].
On the same screen, click the [b]ZTransp[/b] button, so that the planes will not overlap each other.
- Note:
- If you set the plant's Z-Offset lower than 2, the grass plane will override it's drawing, makign it invisible
- On the other hand, if you set it to the same Z-Offset (2), the transparencies of the grass and the plant will mix.
- Setting it higher makes the drawing order just right.
Placement and Copying
Don't forget to place the mesh so that it just touched the grass.
To add a bit more population of this plant, just make a few copies, and resize them a bit.
Vary in height and width (by scaling on the Z-axis and XY-plane separately) to get some natural diversity.
A more complex bush
As nice as these simple plants are, it's also nice to add a bit of a bush.
We're going to make a bush in the same way Cyan does in Relto and in The Cleft.
As our age is a bit rocky, is will probably have a poor soil. So why not let a few heather bushes grow there....
As always, here is the texture we'll use:
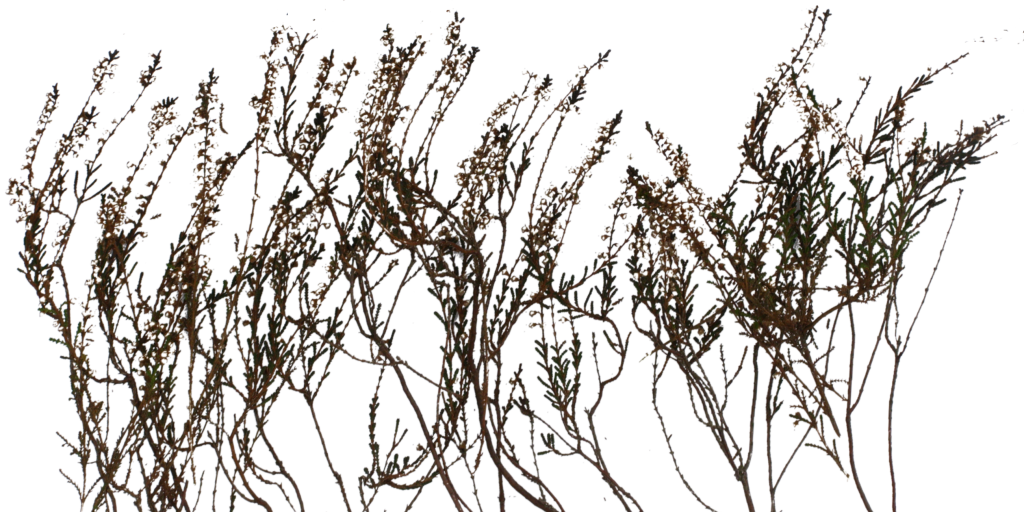
As heather only blooms in the late summer or early autumn, this texture is of course of a non-blossoming heather bush.
Modeling
Making a bush realistic requires a model that is a bit more advanced than the simple billboard we used earlier. This model will have a couple of layers of billboards.
We will start the bush with a tube, consisting of 6 segments
Adding a Moss Crust Decal
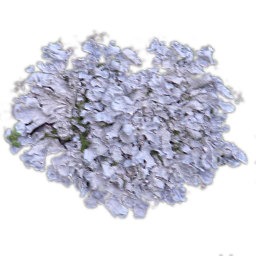
As a final addition to the age's flora, we will add a Moss Crust to the mountain.
The decal texture we will use:
[To be continued]

