Difference between revisions of "PyPRP:Great Zero Beam"
(Created page with "{{Tutorial|Great Zero Beam|Blender}} Great Zero Beam == Introduction == This will show you how to add the beam from the Great Zero...") |
m |
||
| Line 1: | Line 1: | ||
{{Tutorial|Great Zero Beam|Blender}} | {{Tutorial|Great Zero Beam|Blender}} | ||
| − | [[File:GZinthePub02.jpg | + | [[File:GZinthePub02.jpg]] |
== Introduction == | == Introduction == | ||
Revision as of 21:32, 1 October 2014
| This is a tutorial page.Versions available: PyPRP; 3ds Max; Korman. |

Contents
Introduction
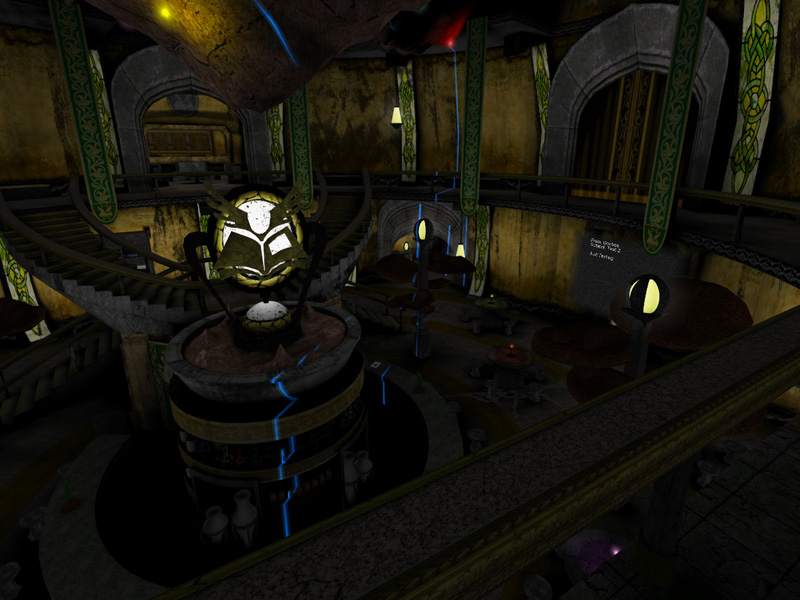
This will show you how to add the beam from the Great Zero to your cavern location.
Before You Start
You will need to determine approximately where the Great Zero is in relation to your cavern location. You are going to place a Projection Light (see ProjectionLights) at this point. So if your creation is on the edge of the cavern wall, you will need to place this light very far away for the proper effect.
You will also need the "grtzlaserproj" texture from either the city files or one of the Guild Pubs. For legal purposes, this texture can't be reposted here, so you must find it yourself.
Blender Work
Adding The Light
Once you have found the location you'd like to place the "Great Zero", left click on it to set the cursor there. Make sure the cursor is also slightly below your cavern location on the z-axis so the beam will encompass everything from the bottom floor up.
Next, click Add->Lamp->Area. Name this new area lamp something unique that you will remember (F9, under Links and Materials). We want this lamp facing the correct way, so press Alt+Spacebar, then click Local to switch to the lamp's local orientation. We must make sure that the local Z-Axis (blue) is facing horizontally and that the square representing the lamp's area is also facing that way.
Press R, then X, then 90, then Enter to do so if it is facing down.
Setting the Material
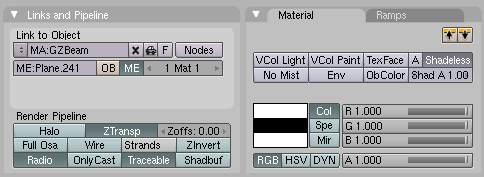
Much like footprints or ripples in water, we need to add an out of sight plane to set up a new material and texture for the beam itself. Press Tab, then press U, then click "Unwrap". Hit F5, then click the Material button (red ball). Add a new material and name it something unique. Make sure to turn Shadbuf OFF. Turn "ZTransp" and "Shadeless" on. Set Spec to 0 and Amb to 1.
Next, click on the texture button (to the right of the material button) and add a new texture as well, also naming it something unique. Under "Texture Type", choose "Image". Make sure MipMap, Interpol and UseAlpha are all turned on. Next, select the "grtzlaserproj" texture you recovered earlier.
Back in the Materials button, click on the "Map Input" tab and choose "Object". This should set things for now.
AlcScript for a Great Zero Beam
The code for your lamp object should be as follows:
<lamp object>:
    lamp:
        layer: <Material>-<Texture> # From your plane
        flags:
            - movable
            - OverAll
        width: 1
        height: 2000
        depth: 5000
The depth should be very big number, particularly if your lamp is very far away from your cavern location. If you're not sure, make the depth very large and keep increasing until you finally see the beam, but always keep the width at 1.
At this point, you may export your Age, but there is more to do.
To be finished

