PyPRP:Lightmaps
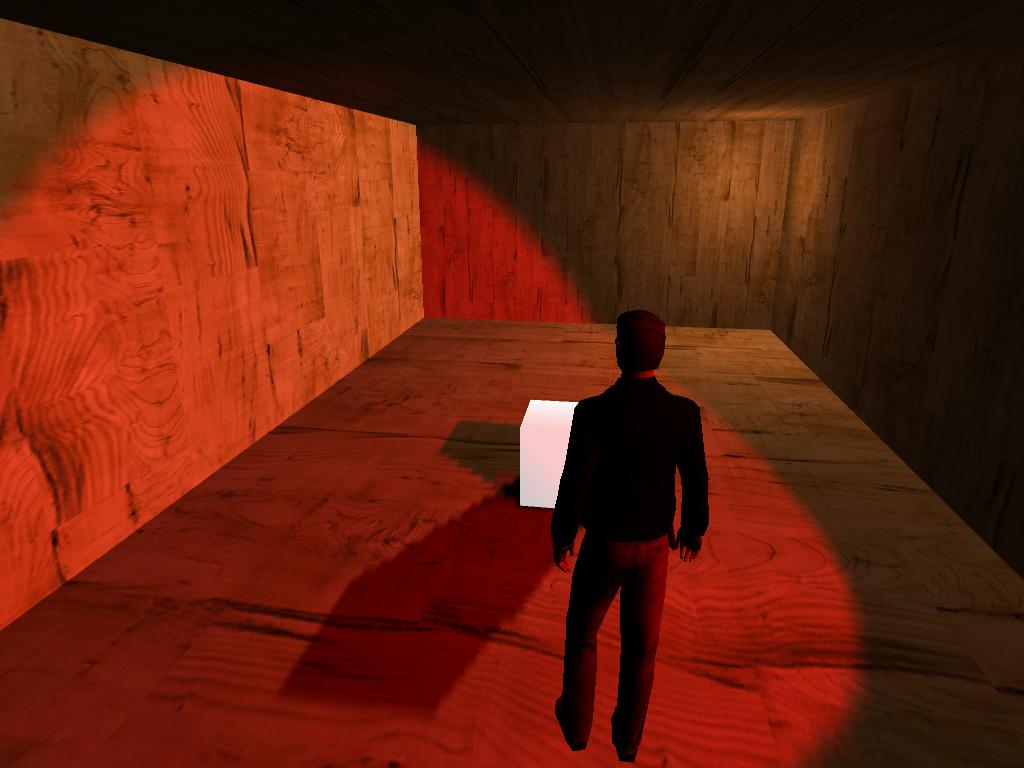
In this tutorial, I will show you how to create static lightmaps in blender, which can be integrated into your age materials to provide more advanced lighting effects than are available through the engine itself. You can find examples of similar lightmaps in Ahnonay. (we currently can't set the "lightmap" flag from within the plugin, but as long as you don't plan on having additional dynamic lights, this shouldn't be a problem)
Contents
Let's make a simple room
You can skip this segment if you already have a model to lightmap, but this shows the basic initial setup for this tutorial.
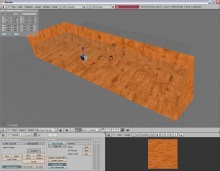
Set the view to Textured mode, then take the blender default box, scale it in x,y,z to about 30,10,5, and flip the normals. (edit mode, [w] > flip normals) Find a texture, like this wood texture, and apply it in UV mode.
Make another box, and put it on the floor.
Add a a book, and a spawnpoint, and put that on the floor too.
Add a Material to the room. Set the Col to white, Shadeless on, and the Amb to 1. Attach the wood texture, and set it to UV.
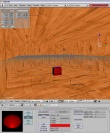
Things should now look the same, between rendering and the real time view.
Setting up the Lights
Take the default lamp and put it near one of the corners.
Duplicate it, make it a spot light, and make it red.
Set them both to Quad, and make their Quad2 values 0.01.
Preparing the Texture
Create a second UV layer, call it something like, "Lightmap". Go into UV edit mode press [A] a couple times to select all the faces. Press [U] and select "Unwrap (smart projections)". Set the island margin to 0.1 and press ok. This will stop the edges of the map sections from touching each other and bleeding random colors into the edges and corners.
Now, still in UV mode, in the UV Image Editor, select Image > New. 256 x 256 is usually ok for lightmaps, but if you have a particularly large or detailed object, go for 512.
If you are in textured mode, your object should now look black in the editing view.
Baking the Lightmap
Now, go to your object's material settings and uncheck any textures, so that the material appears white, and lit, in the preivew. If it is solid white, uncheck "shadeless". Col should be white. Go to the object's Editing (F9) settings and make sure the "render" button next to your lightmap UV layer is set. If not, blender will overwrite some other texture.
Now you're ready to bake the lightmap. Go to the render buttons (F10) and find the "bake" panel. (by default, it's behind the "anim" panel) Make sure "Full Render" is selected and press "BAKE". Blender will freeze for a moment while it renders to your texture. If that texture is visible in the uv image editor, you will be able to see it working.
(You may also notice the other baking options. "Ambient Occlusion" creates an ambient lightmap that acts as though there was an equal amount of ambient light coming from all directions. "Textures" writes the surface colors of the object, which can be used for saving material textures generated by blender. "Normals" generates a normal map in camera space.)
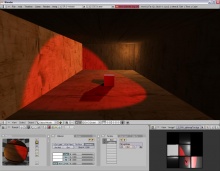
Once Blender is done baking, you should see the lightmap texture in the main view, on your object. You can re-bake it later if you change the lighting setup, just remember to set all the options listed above before baking.
Saving the lightmap
First, if you save and close blender now, your lightmap texture will be lost. All "painted on" images are discarded when you close blender. Also, if you export now, the plugin will not be able to read that texture image. (although it probably won't even look for it anyway, as you haven't even set up the material) So first, in the UV image editor select Image > save as and save your lightmap texture to a file. Then with that image still selected, select Image > replace, and open your image. It will be appended with a .001 after it. After you save and restart blender a few times, it will remove the empty original image name, and you can rename the opened image. If you re-bake this image, simply select Image > save before closing to overwrite the old file.
Setting up the material for uru
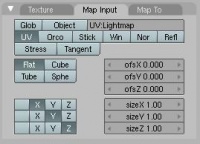
Once you're done with that, you can set up the material for use in uru. First, turn shadeless back on, and reenable your textures. Then, create another texture layer. Set the image to your lightmap texture, and set the "map input" to UV, and in the text box that says "UV:" type in the name of the UV layer that your texture uses. (That was important. Go read that again) Now, in the "map to" settings, set the blend type to "multiply". Congratulations, the material is ready to export.
If you want to preview it, you can Render an image or, since the game engine will draw some types of multilayer textures, press [P] to start the game engine. With no controls or logic bricks set up, you won't be able to move, but the viewport will stay the same. Press [Esc] to get out.
If you're going to export the little boxy thing I just walked you through, remember to set the bounds (trianglemesh) on the objects.
As a final note, because the lightmaps are rendered by blender, you can use any of blender's features in creating them. Shadows, normal maps, etc.. though using those to great effect may require higher resolutions.

